When you are running your own online business, an online appointment is just something that you cannot ignore. You need it to interact with people to let your customers interact with you or even book an online appointment. You can either make them pay to book an appointment with you or may even do it for free.
In this article, I am going to show you how you can add an appointment page in your WordPress or any website easily.
To create an online appointment page on your own website you need to use any appointment platform. I have tried many and I would really suggest you use Calendly because it is very easy to create, manage and even the embedding of codes to your pages is super easy. It took me hardly 5 minutes to create my appointment page. And as a designer I am really touchy about the way my page looks, Calendly looks really beautiful and I really love the way it gives my site a premium feel.
Now let’s see step by step how you can add it to your own website in a few easy steps.
Step 1
Go to https://calendly.com/ or Click here

This is how it will look. Enter your email and Click Sign Up.
After signing up you will have to confirm your email to get started.
Step 2
Create a custom Calendly URL for your profile and continue. This is the name of my other website which I have just used to create a new Calendly account just to show you guys.

Step 3
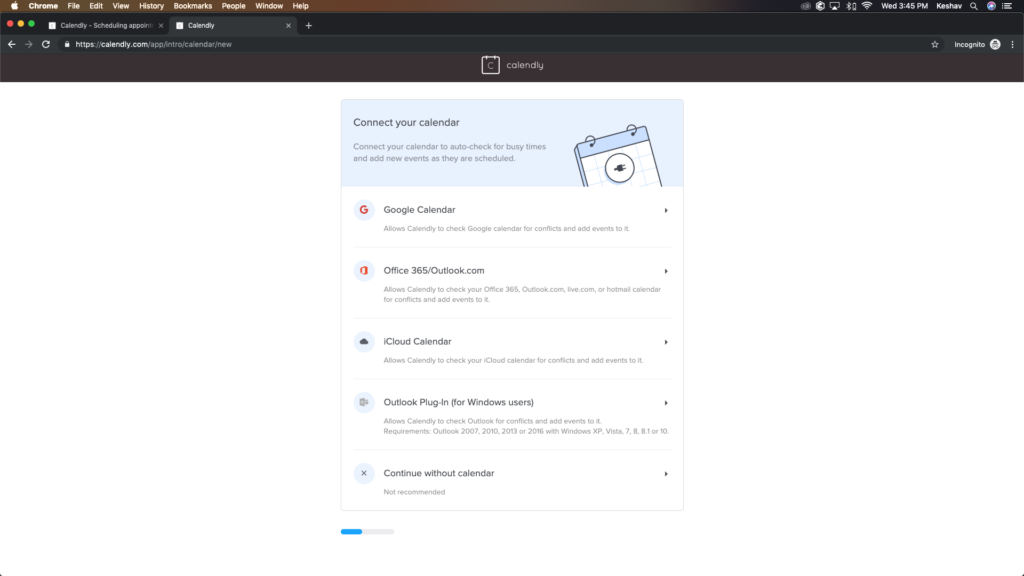
In the next step, you need to sync Calendly with any calendar that you use to be updated of your appointments and not to miss any appointments. I would suggest you sync it because this will let you know right away when someone will book an appointment and it will also remind you of it.
Step 4
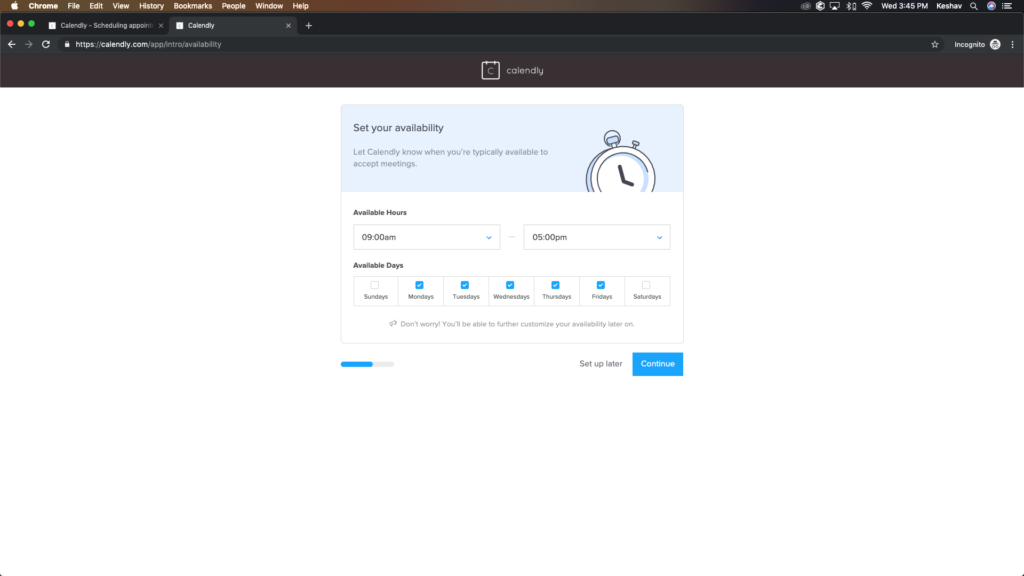
After Syncing it to your calendar, you need to specify the working days and the hours in which anyone can book an appointment with you and then continue.
Step 5
Here you can specify what is your role for which you are using this platform. If you are not sure do not worry and just go forward with other.

Step 6
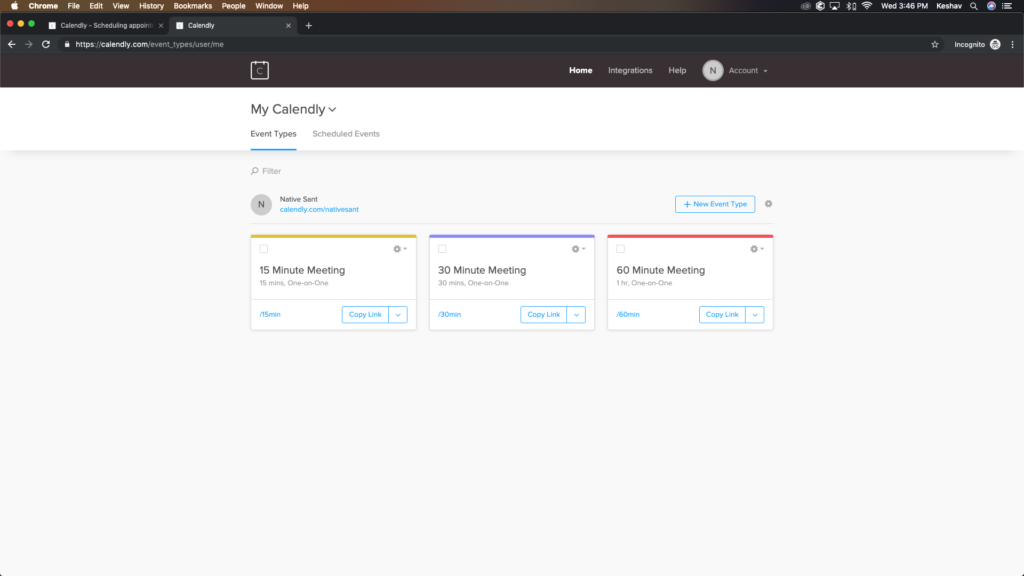
Congratulations, you have successfully created your Calendly account and now the only thing left is to create an event for which people can book an appointment and you can be notified and take it forward.
From here the process is going to be very easy and you have come halfway towards creating your first online appointment page. To move forward click on any one of the Event types. It is fine if you cannot see the time for which you are going to hold your event, you can edit the time later.
Step 7
Now you need to put your information in, change the name if you want to. Don’t worry you can keep any name. It can be changed later also.
For the location, if you are going to use this for online consultation you need to write online here if you are going to meet people personally you need to use the actual location where you are going to meet them.
Choose whether you want to make this location visible to the people.
Add a description of your choice.
And in the next step customize your link where this appointment table can be visible.
Choose any colour which you like and click Save & Close to move to the next step.

Step 8
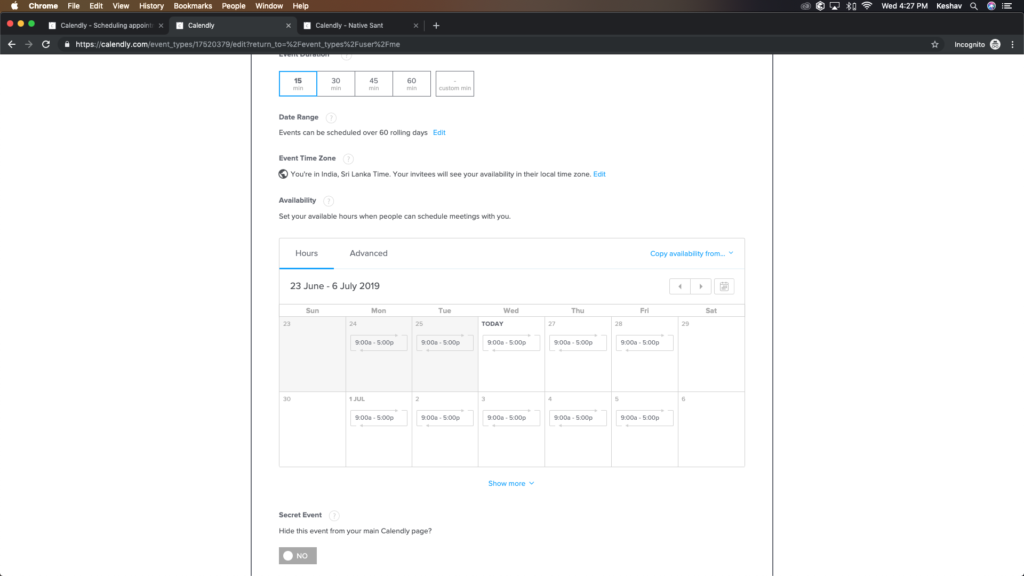
in this step, you can change the duration of your appointment. And you can also change the hours of all day or even one particular day. If you are unavailable for a particular day you can add it here as well, just click on that particular day and select if you are unavailable or change the hours if you want to.
To move forward click Save & Close.

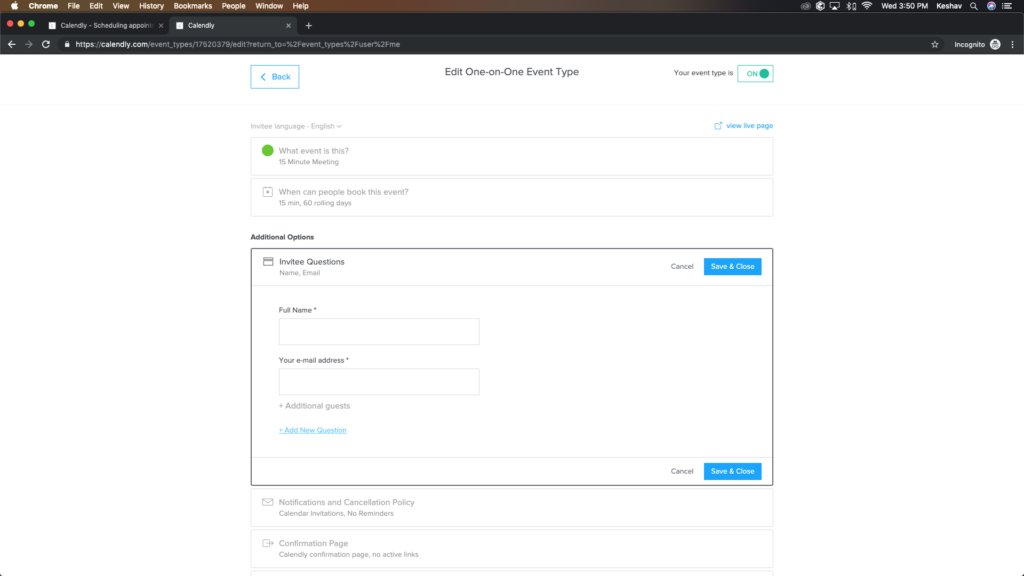
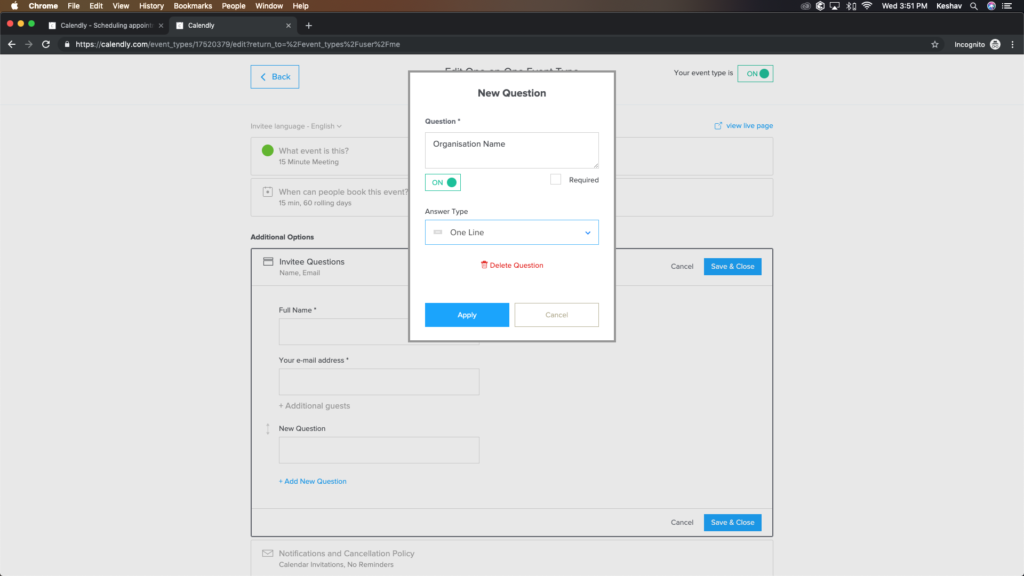
Step 9
In this step, you will add the questions that you want people to answer before booking an appointment. After adding all the desired questions click on Save & Close. (I would suggest you ask for phone numbers as well if you want to send them automated text reminders through Calendly.)
Step 10
In this step, You will add the options for text reminders or email reminder.

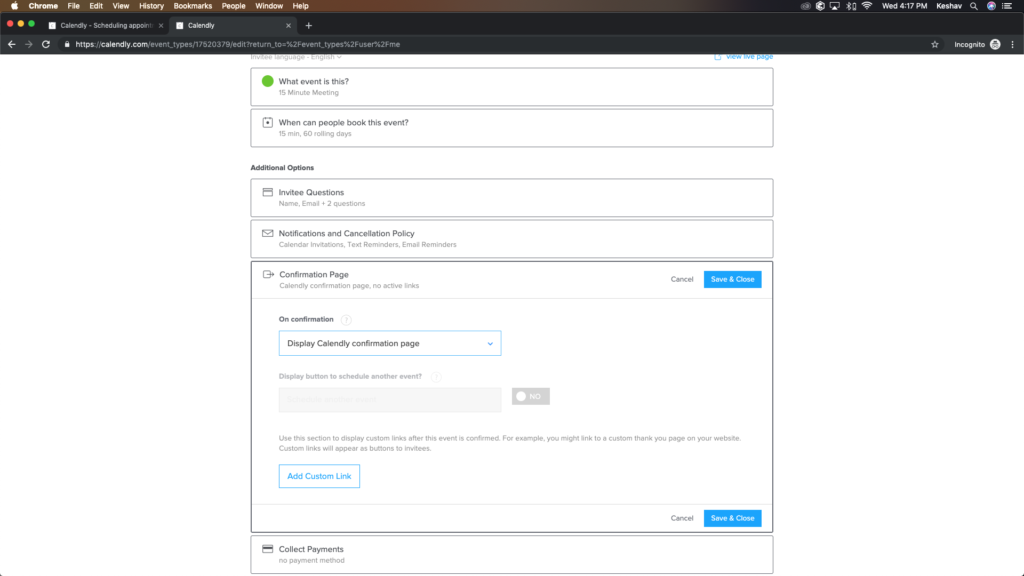
Step 11
In this step, you do not need to do anything unless you want to take them to a different page than Calendly confirmation page after booking an appointment.
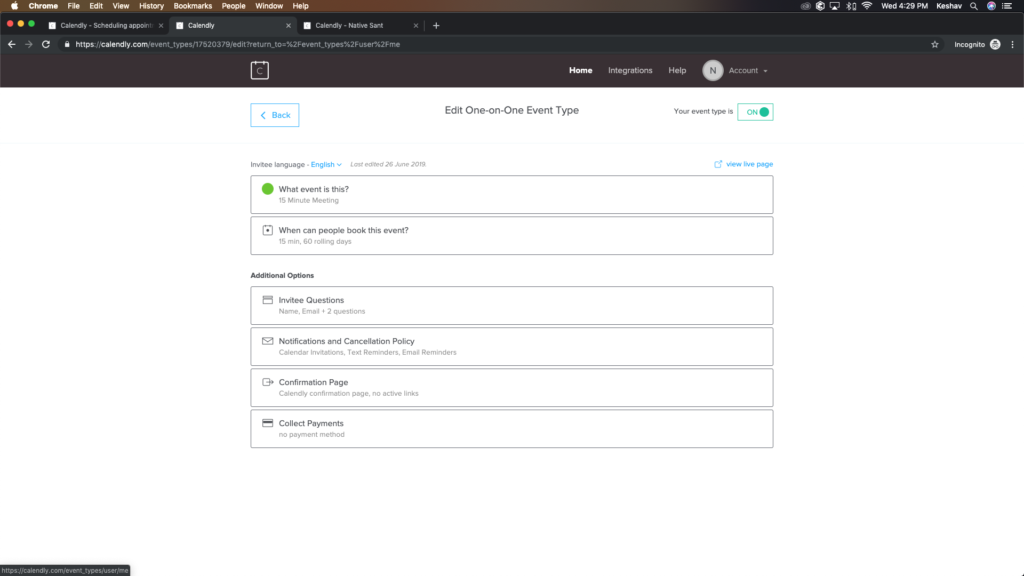
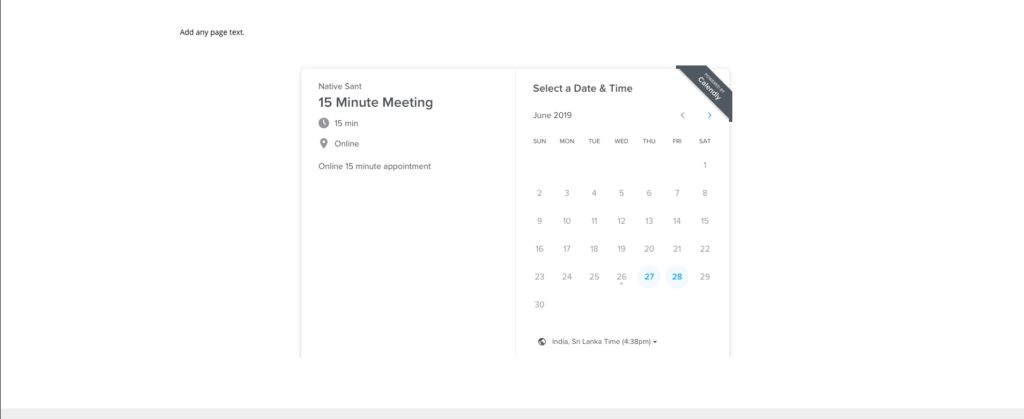
This was the last step now you have created an appointment event with Calendly the only thing left is to add it to your site. It is very easy just follow the steps further and it won’t take you much time.
Step 12
You are done on this page, now click back to go to the event page.
Step 13
Click on the drop-down arrow near the gear sign and click on “Add to Website”.

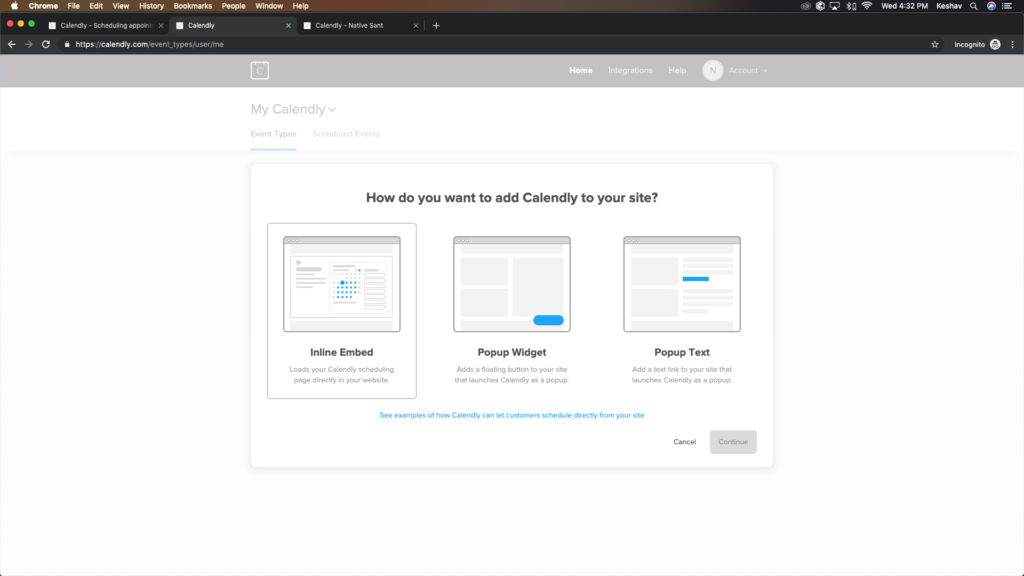
Step 14
You will have three ways to add it to your website but to add the appointment calendar to a particular page go forward with “Inline Embed”.
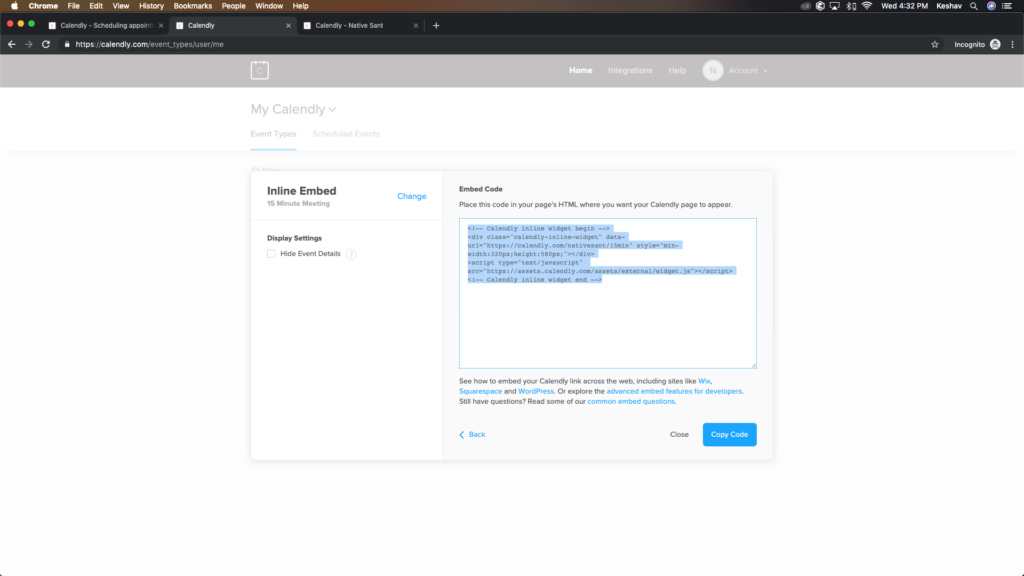
And now copy the embed code that we are going to add on the website page.
Step 15
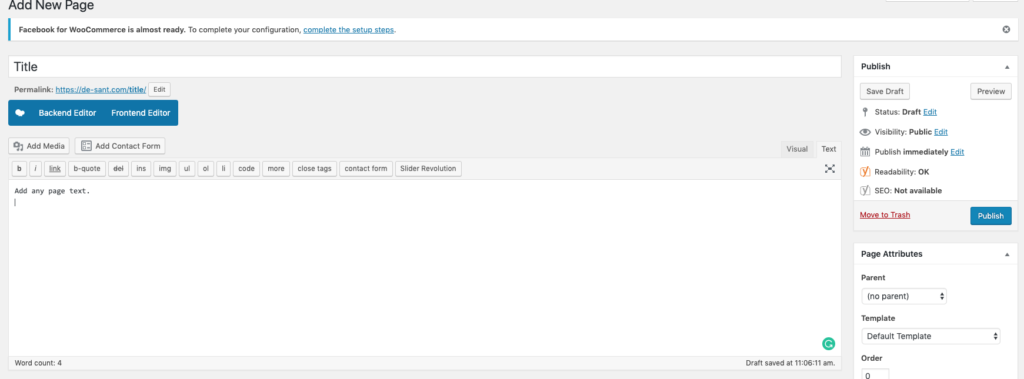
Create a new page, I am using WordPress so I have used it to create mine. And click on the text on the top right corner of the text box to add the code.
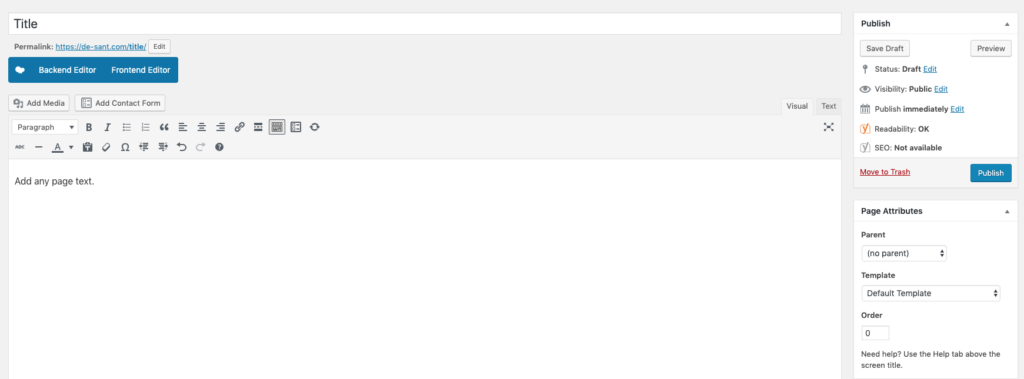
Press enter and paste the code and save it.
Congratulations, your appointment page is ready and you can now sit back and wait for your customers to book an online consultation with you.
I hope this post was helpful to you if you have confusion in any of the steps. Feel free to comment, I would love to help you to set up your appointment page.